If woodworking is your main jig, then you know it doesn’t end at your workshop. Carpenters usually have to bring their work tool bag everywhere they go. If you’re going on a camping trip or visiting a friend’s workshop, having your tools with you at all times is a lifesaver.
Sometimes, the tools you need to carry are fragile or sharp. In this case, it’s essential that you learn how to make a rolling tool bag. Your tools will be safe whenever you carry them around. Carrying a tool bag organizer will ensure that your hand tools are well-organized.
There are many versions of professional tool bags on the market. But, if there are specific tools you prefer to carry at all times, you’re better off making one. All you will need is a fabric of your choice, some sewing skills, and a sewing machine. Here’s a step by step tutorial of how to make your rolling tool bag.
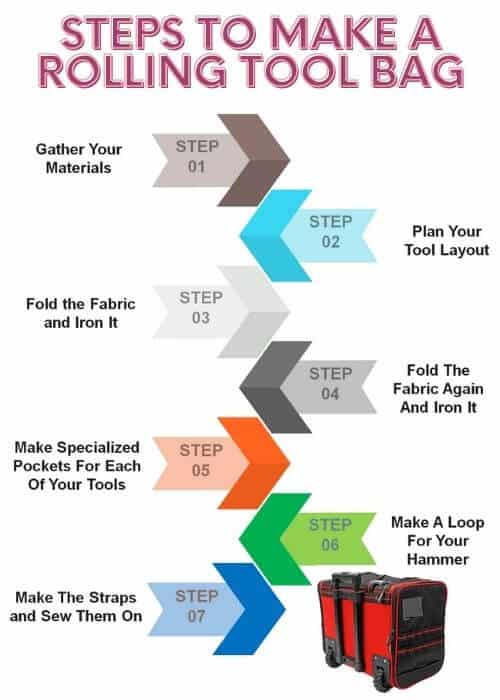
Step By Step Guideline For How To Make A Rolling Tool Bag:

Step 1: Gather Your Materials
Here’s what you’ll need to make your rolling tool tote:
– Fabric scissors
– Pins
– A sewing machine
– An ironing board
– A ruler
– Heavy-duty thread
– Fabric (make sure it’s heavy-duty so that it can hold your tools better).
You will also need a squared ruler to help you trace out the edges and get them correct. Remember that you’ll need a special sewing machine if you’re using leather or your fabric is weighty. If the material you’re using is a blend of denim and lycra, you can use the ordinary sewing machines. Keep the tools nearby to get the right measurements for different compartments.
Step 2: Plan Your Tool Layout
It is now time to figure out the measurements of your tool layout. The best way to do this is to lay out your tools in the order that’s best for you on the fabric. Next, you want to fold the fabric and figure out the depth of the folds it creates. For instance, the shorter folds should hold small tools, and the deep ones should be for long devices. Remember that the dimensions are not the same for all your tools. You might also want to consider saving some space for any future tools you’d like to add.
Step 3: Fold the Fabric and Iron It
Maintain a ½” allowance for the seam on the bottom and top of your fabric, and then fold it. Next, using a double stitch, stitch along the folds you’ve created. A double stitch will look especially lovely on denim.
Step 4: Fold The Fabric Again And Iron It
Once you’re done with the double stitch in step 3, fold another ½” allowance for your tools. Please make sure you iron it then make single stitches along the edges of the allowance.
Step 5: Make Specialized Pockets For Each Of Your Tools
Tool storage bags should have different sized compartments for all your various tools. Lay the first tool on the fold, then mark the spot where you will stitch to form a pocket. If you’ve got a triangular tool, this is the best time to use it as it’ll help you get those right angles.
When you get to the top of the pocket, make sure that the stitch is thick as you’ll want it to hold well and not come apart.
Step 6: Make A Loop For Your Hammer
Most people don’t know how to stop their hammers from sliding out of their tool bags. The answer is quite simple. For this idea tool bag, we chose to make a loop to prevent the hammer from slipping out. Get a short strip of fabric and fold it over its ends. Next, sew the ends over and make sure they are thick enough.
Step 7: Make The Straps and Sew Them On
Tie straps are an essential part of your roll-up bag, as they’ll help you to hold everything together. Some people use zips or buttons. But, we find that straps work better. You can cut the straps to whatever length suits you with the extra fabric.
You want to cut out three straps, sew one at the center of your fabric, and the last two, an inch from each end of the roll. Fold the end over and ensure that your straps are firm. The straps shouldn’t get loose while you use the bag. Make an X pattern to work as reinforcement on the base of your straps.
To finish, trim off the loose thread and make sure all your stitching is firm.
Related Post: Best Rolling Tool Bag

Conclusion
Any woodworker or carpenter should learn how to make a rolling tool bag. It is efficient and easy to carry. With the steps we’ve provided above, do you think you can make a rolling tool bag? Do you think there are improvements to our method? Your input will be useful to our readers and us.
